.png)
.png)
Project 1 - The Clock
Components


Build
Step 1
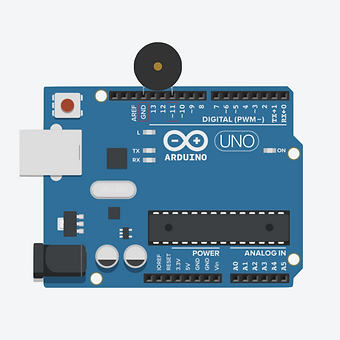
Connect the buzzer to the main board. The short buzzer lead (-) goes into GND. The long buzzer lead (+) goes into 11.

Step 3
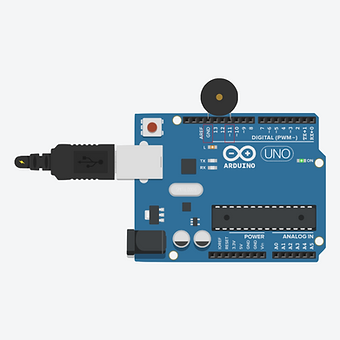
Connect the USB cable to the computer.
Step 2
Plug the USB cable in to the main board.
Step 4
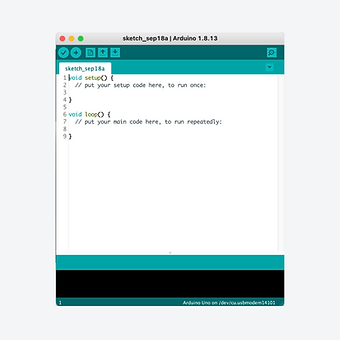
Find and open the Arduino application. Remember to select your board from the tools > port menu.
Code
Copy the code to the right and then open the Arduino application.
Delete all of the text that appears and then paste in this code that you have copied. (The code will paste will lines inserted. Leave these line spaces).
Click on the arrow shown in white to transfer the code to the Arduino Uno. You will need to give your sketch (program) a name. If the code is correct, the program will begin to run as soon as the code has transferred.
1.
2.
3.
4.
5.
6.
7.
8.
9.
10.
11.
12.
13.
14.
void setup() {
pinMode(11, OUTPUT);
}
void loop() {
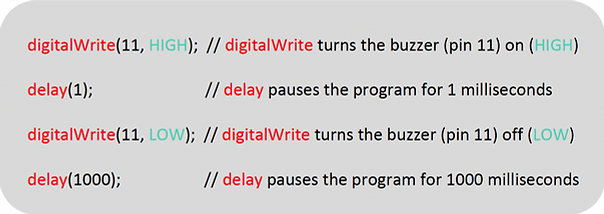
digitalWrite(11, HIGH);
delay(1);
digitalWrite(11, LOW);
delay(1000);
}

Explanation
DigitalWrite turns things on or off which in this case is the buzzer attached to pin 11. The delay pauses the program for the specified number of milliseconds. This program reads:
turns the buzzer on for 1 millisecond, then turn the buzzer off for 1000 milliseconds.
Extension: Try adjusting the length of the pauses in the program by changing the value for the delay.
Also, can you identify an issue with the code that would make this clock inaccurate over time? How could you change the code to keep the clock accurate?
Videos
Virtual Build
Physical Build
Knowledge Base - void setup & void loop
This short program has two main functions which are void setup () and void loop ().
The void function is known as a non value-returning function. This means when the function is executed, no particular value or data type is returned to the function.
This is easier to understand in comparison to a value-returning function such as the function 'int' which is short for integer. Using the 'int' function is asking the code to return an integer value as a result. This might be useful if the program was trying to choose the smallest of three numbers, with the smallest of the three being the integer that is returned to the function.
The void function is used when a value does not need to be returned. You can think of it as voiding (cancelling) the return of a value.
Void setup is only run once and is used to define variables in a program. In this code, we have used 'pinMode' to define pin 11 as an OUTPUT. This means when the program conditions are met, a signal is sent to pin 11 which in this case is attached to the buzzer.
Void loop is run repeatedly and contains the instructions for the program. In this code, we send a HIGH voltage to pin 11 which turns on the buzzer for 1 millisecond and then we send a LOW voltage to pin 11 which turns off the buzzer for 1000 milliseconds and then the program repeats.